It’s no secret that AI has completely changed how we create across almost every field. Video production is no exception. BIGVU is a tool that utilizes AI to help you build high-quality videos, with features to help users script, record, and edit videos.
From AI-assisted scriptwriting to a teleprompter to make recording more convenient, this tutorial will teach you how to use BIGVU to elevate your video production.
Join BIGVU today, and use our promo code MEHFIN63 to receive $20 off when you subscribe, or join here!
About: BIGVU is an AI-powered video app that simplifies the video creation process. Whether you are a business owner, educator, or content creator, you can find what you need to quickly and easily make high-quality videos. With BIGVU you can:
BIGVU can be used from your computer or mobile device.
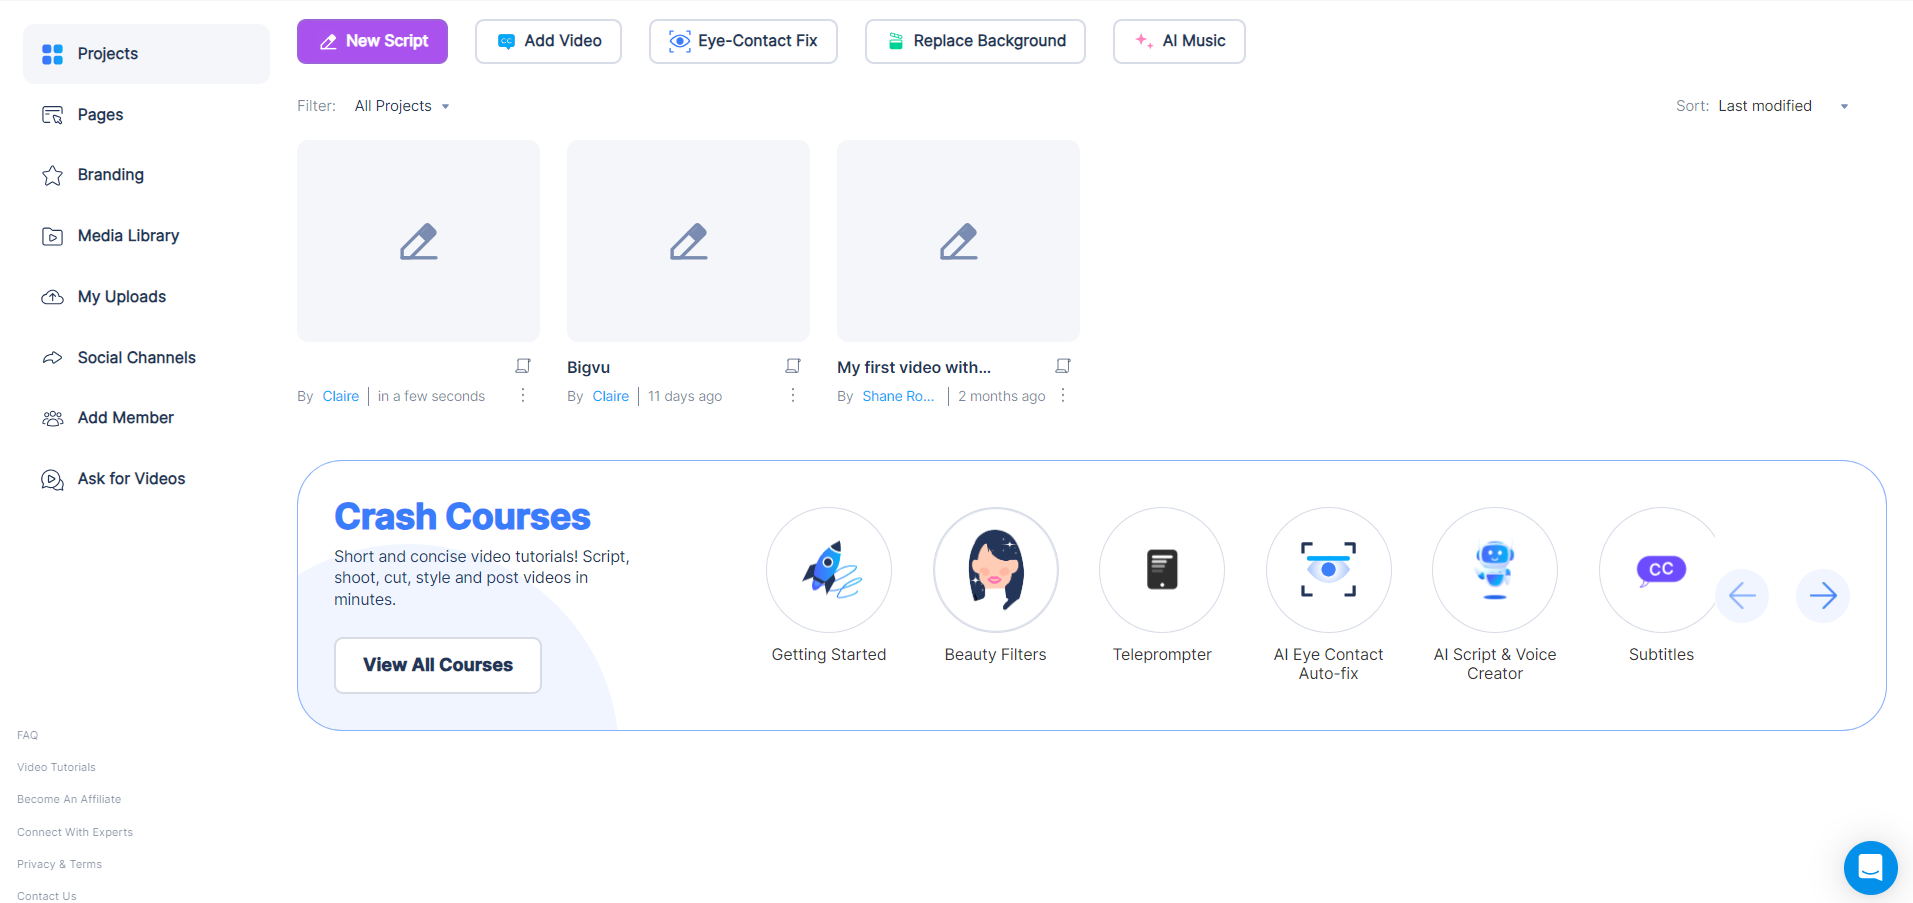
To use on the web, navigate to BIGVU’s website and log in. The website is best for watching tutorials, writing scripts, and editing/uploading videos.
Alternatively, you can download the BIGVU mobile app. The app can be used for every step in the video making process, and is especially useful for recording videos with the teleprompter feature.
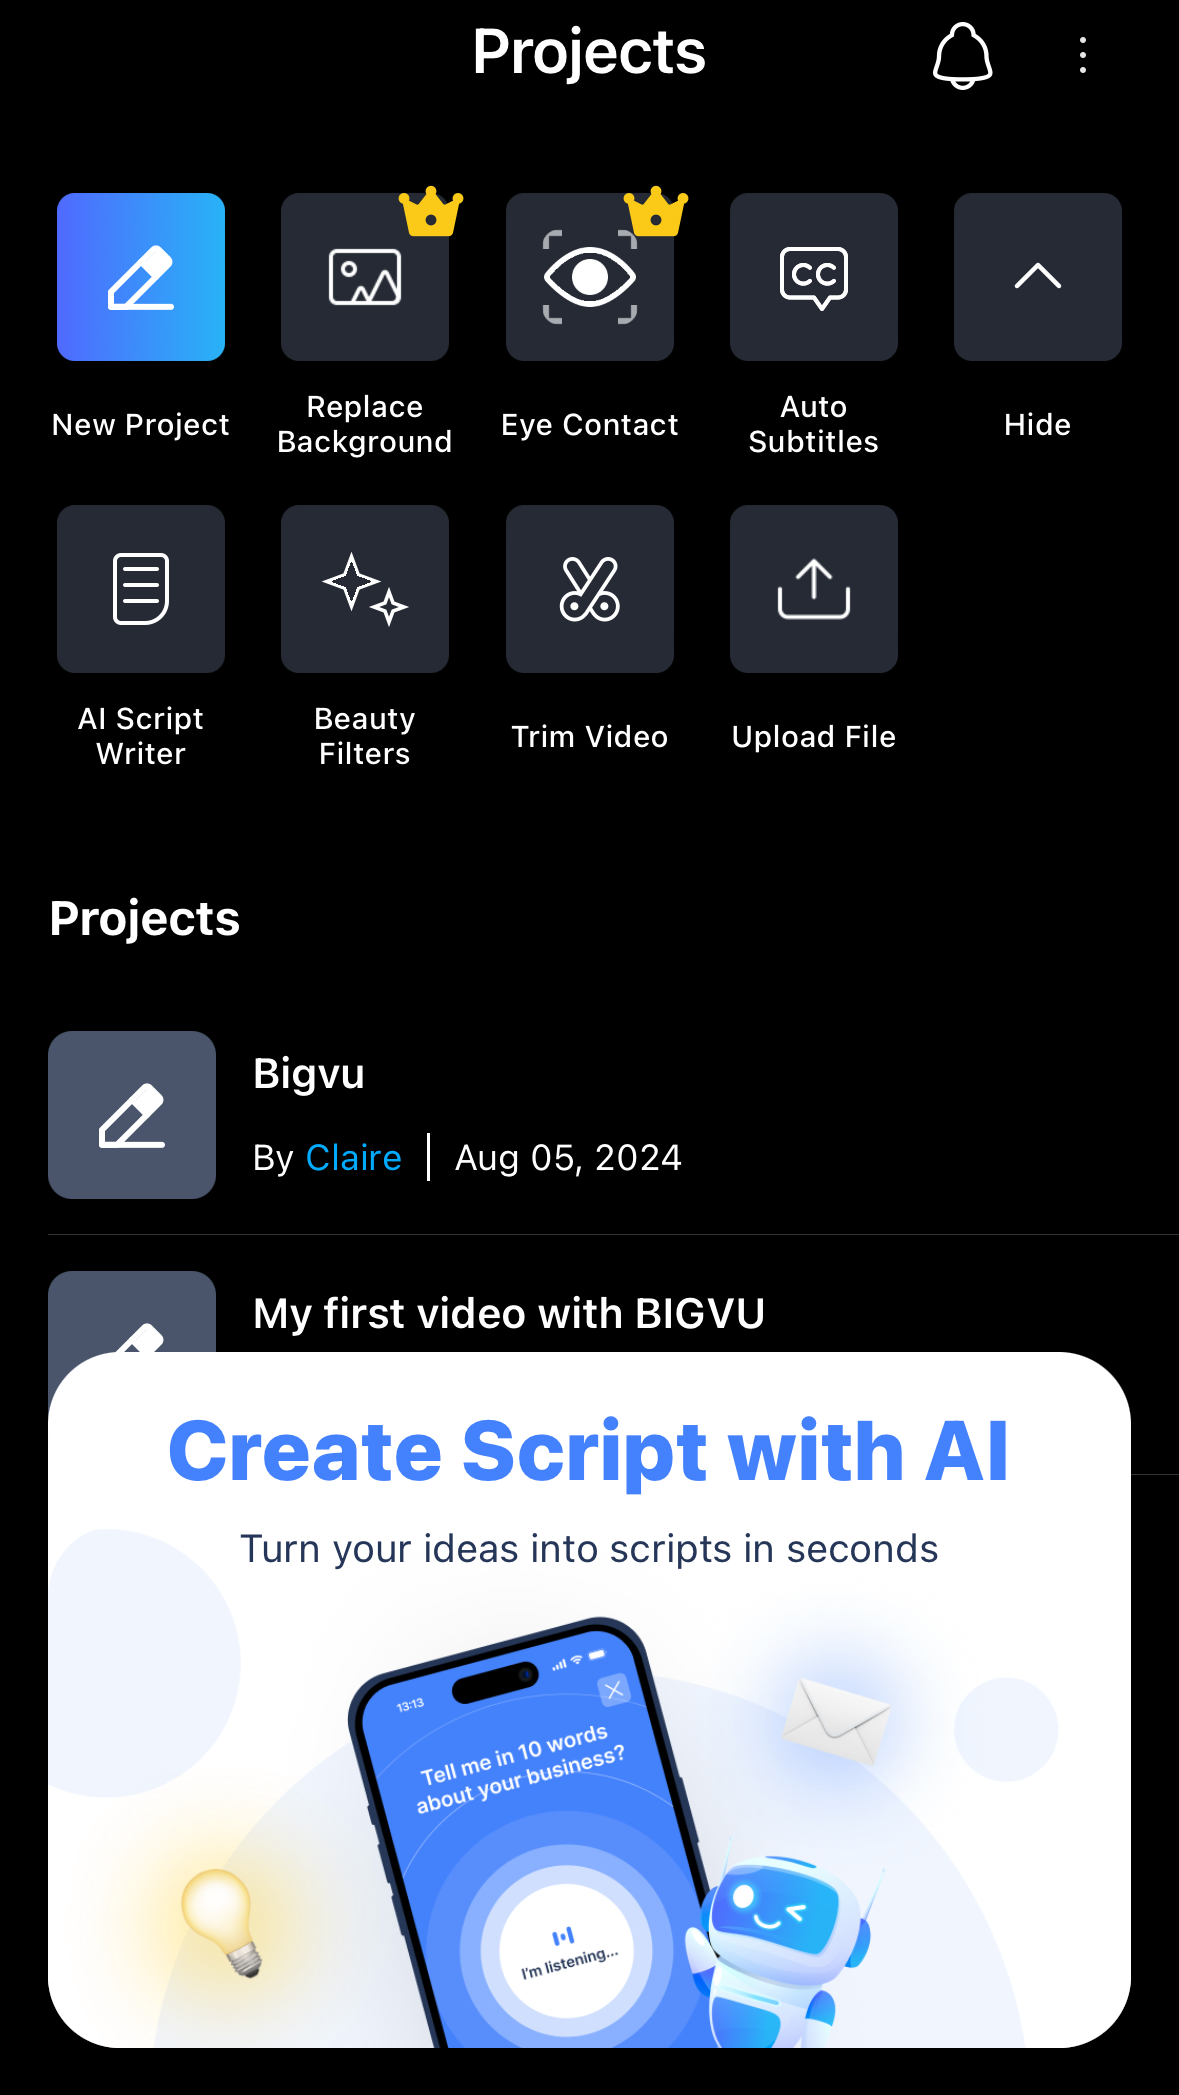
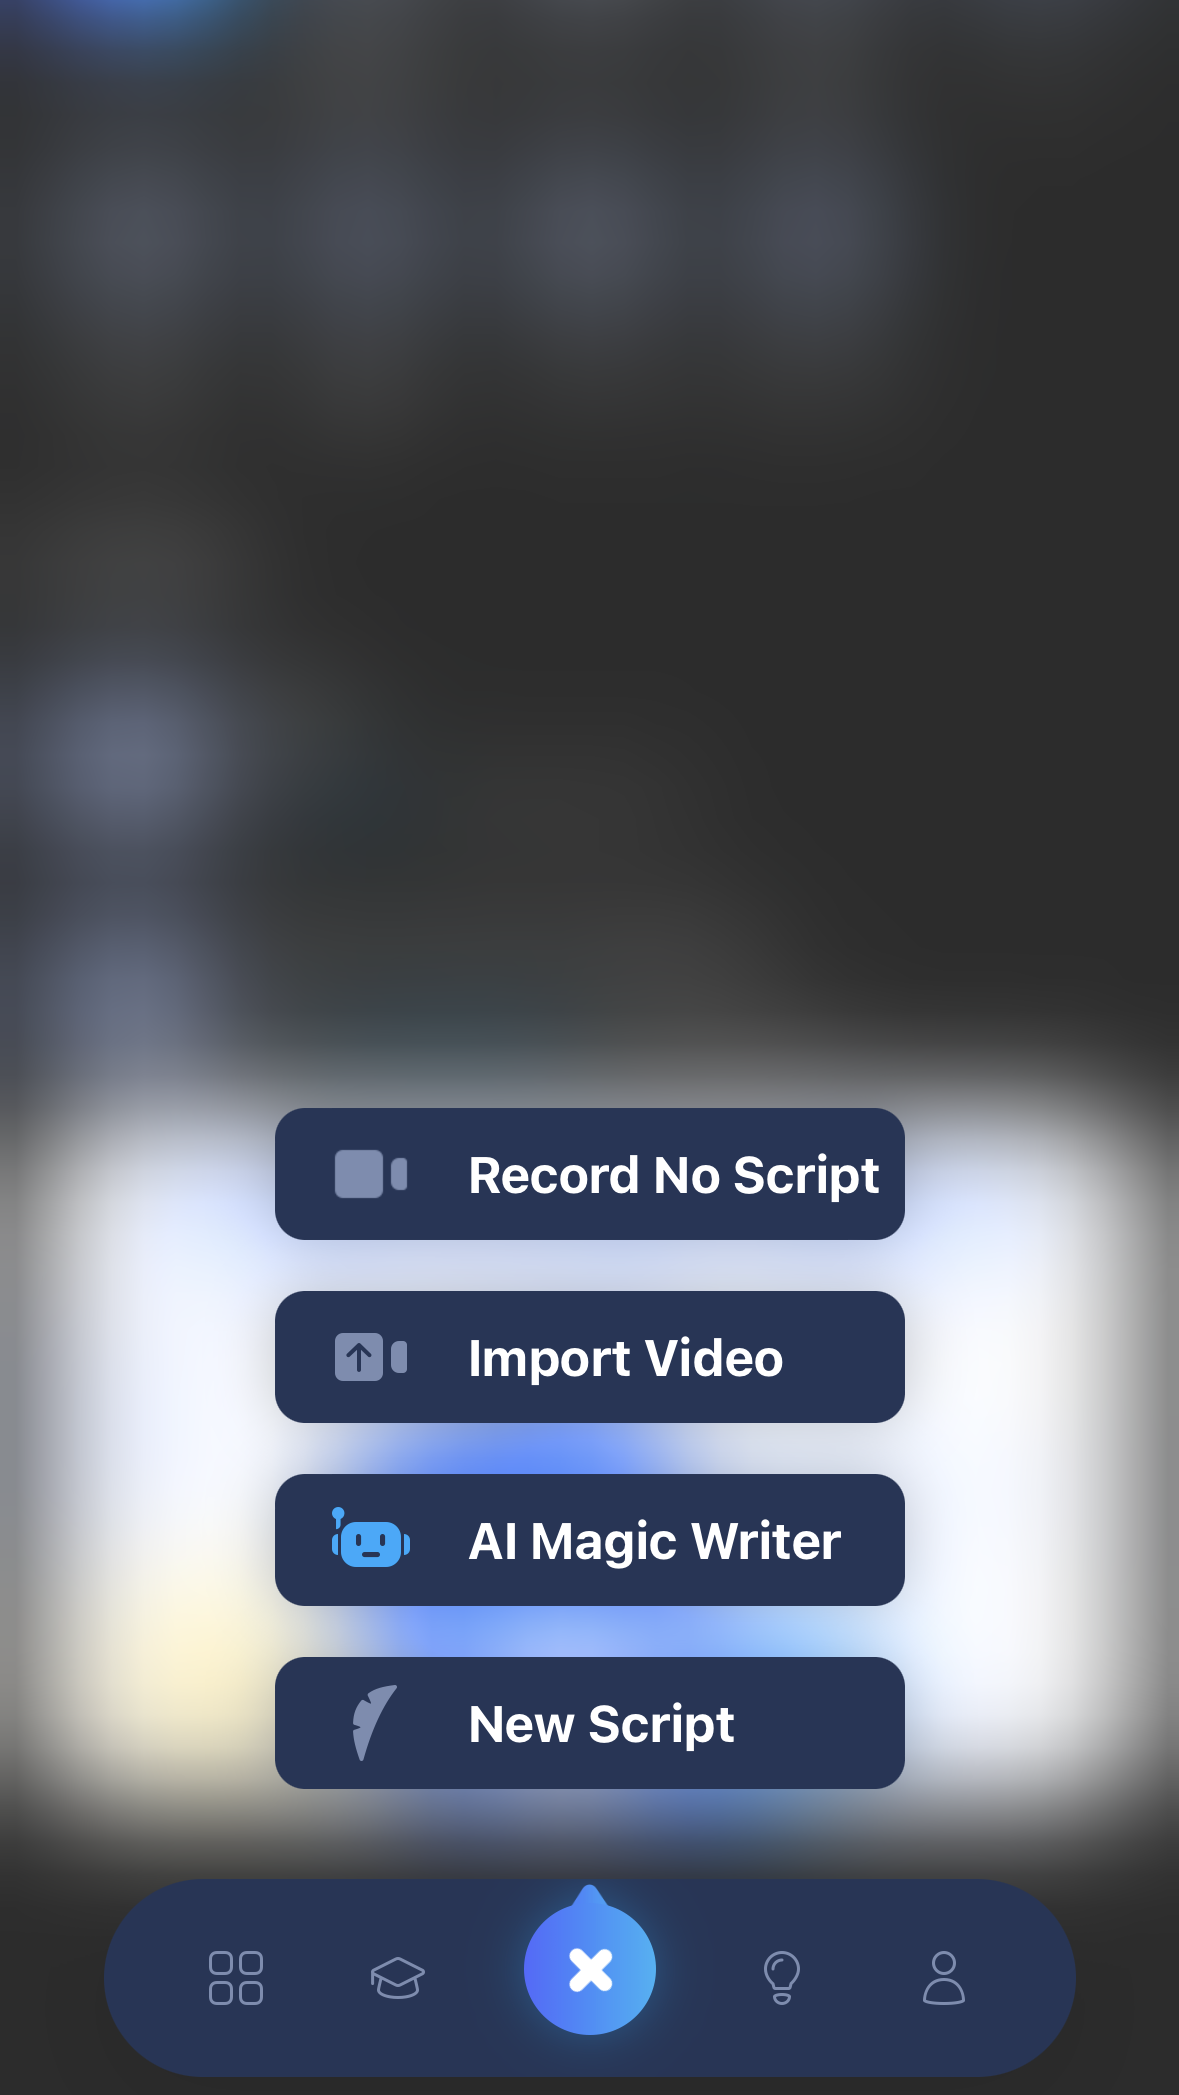
To start writing the script for a new project:
If you already have a script, simply click “New Script,” enter a project title, write your script below, then either save for later, or click the recording button to begin filming.
If you want to fully take advantage of BIGVU’s AI capabilities and generate a script within the mobile app, select “AI Magic Writer.” You can pick from the given templates and then you will be prompted to provide 10 words for the Magic Writer, which will in turn provide you with 5 possible scripts to choose from. Other script templates may have slightly different prompts, so follow the instructions in the app.
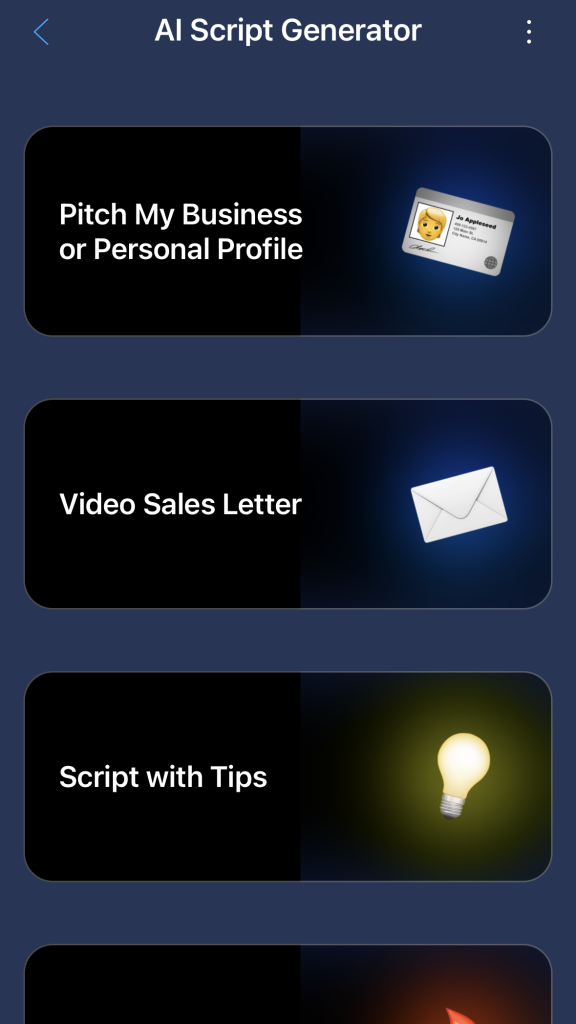
Select a script template
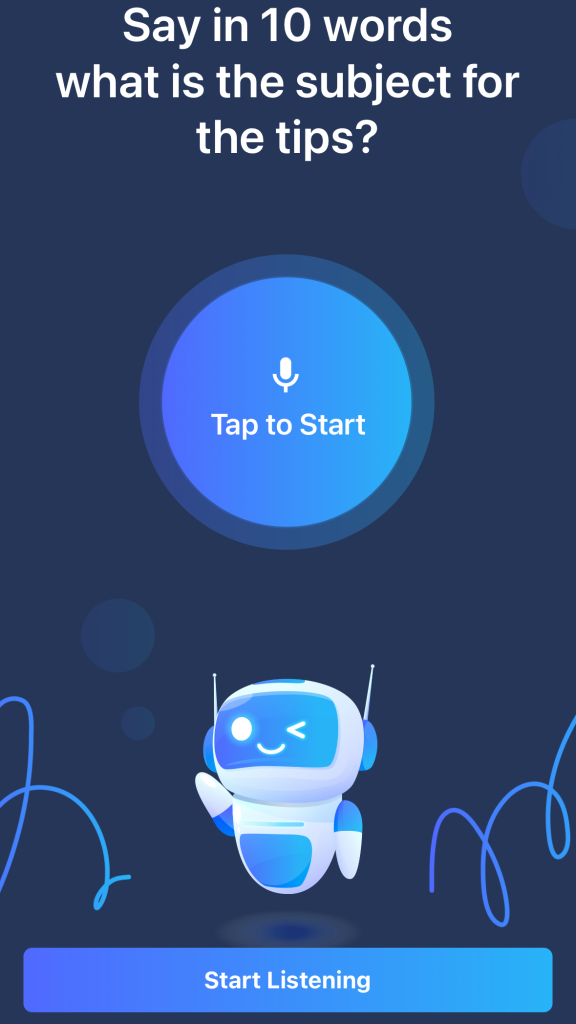
Record keywords to generate script
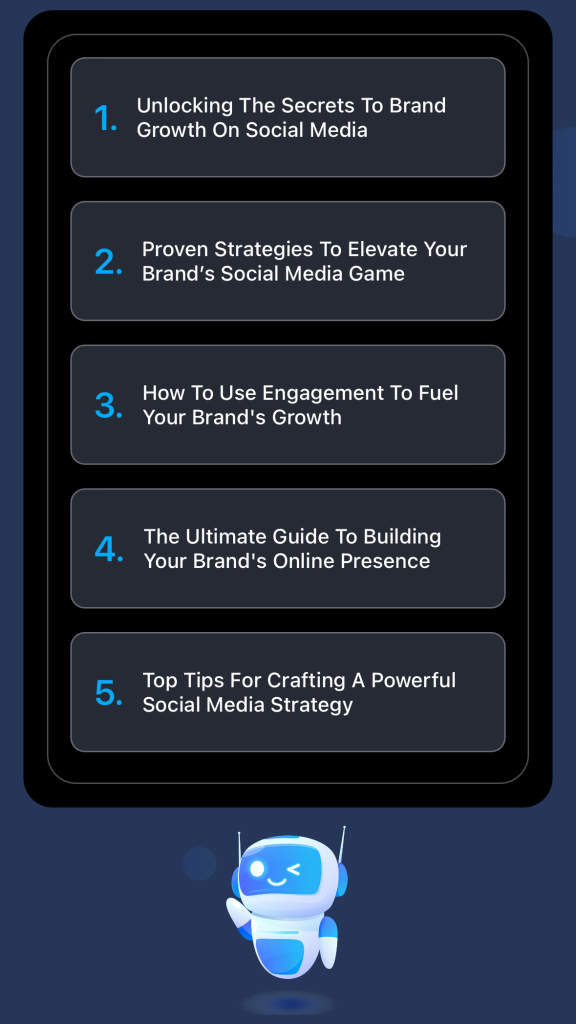
Select one of the generated video topics
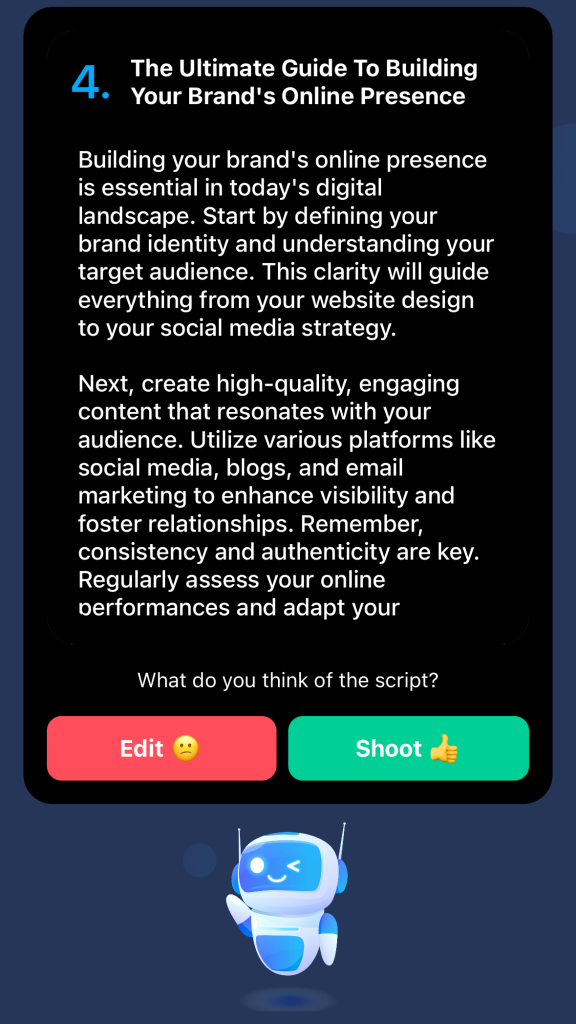
Preview your AI-generated script and edit/record!
With the BIGVU website, you have even more options to create your script. You can use the whiteboard feature to help plan videos or organize different AI generated script ideas, all stored in one place.
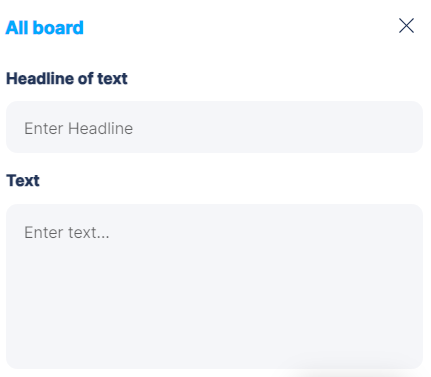
Similar to the app, you can also use AI to write your script. Select “AI Writer,” which will prompt you to select various options for your script, such as the length, tone, and topic.
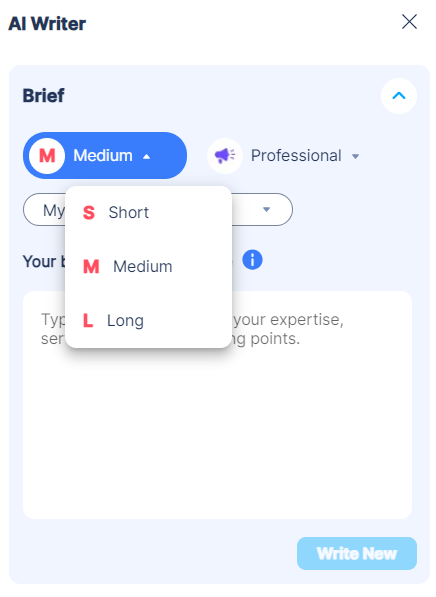

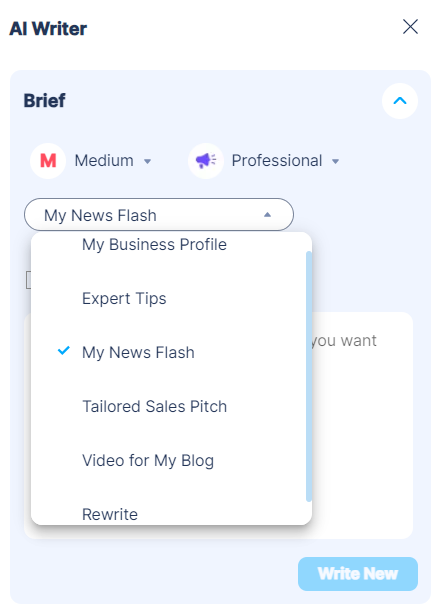
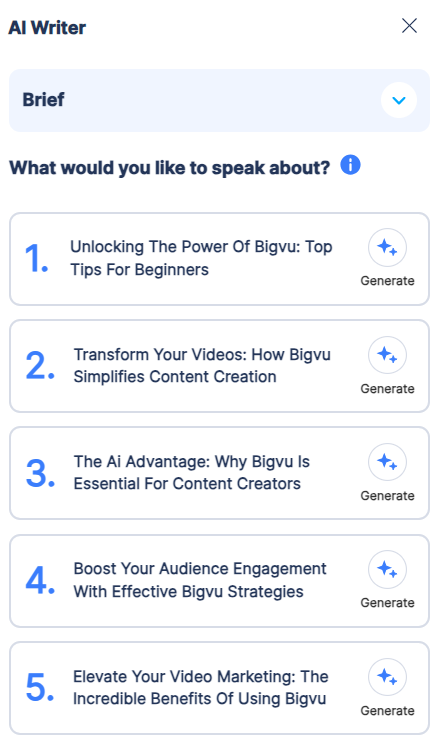
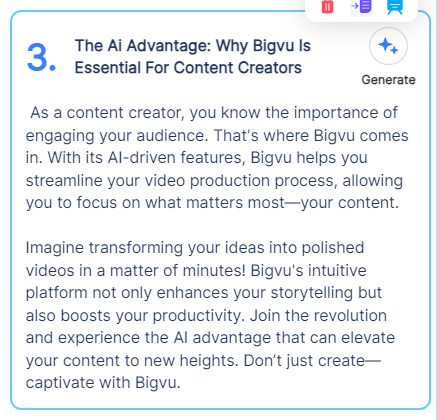
Once you have made your selections, you can type in the box whatever BIGVU asks related to your topic, typically involving you providing certain keywords to what you want your video to be about. Then, the AI will generate several video scripts, and you can choose to add them to your script or add them to your whiteboard.
Once your script is complete, you can begin recording! One of BIGVU’s most unique features is its teleprompter, which can be edited to your preference. You can adjust the size, location, and speed of the teleprompter from the app, to help make it easier to read your script while recording.
Other features you can adjust from the recording section include adding filters, blurring the background, and retouching. Do this by selecting “Effects” at the bottom menu. Each feature is conveniently located at the bottom of the interface, so simply select what you wish to adjust, and choose a filter or option to your choosing. Many of the features will also include a slider, allowing you to choose the intensity of the effect you have selected.
Once you have made all of your selections, you can start to record your video!
Now that you have filmed your video, it’s time to start editing! This is the step where you will assemble your takes, add/edit subtitles, add branding, and more. To edit, you can either use the video recorded within the BIGVU app, or upload your own video from your mobile device.
1. Cutting and assembling your takes is made highly convenient through BIGVU. Select the video/take you wish to cut first, and select “Trim Video.” Select the language recorded in, and BIGVU will create a transcript of the video. You can use this transcript to indicate the words at which you want to start and end your video. There is also a “fine tune” option, which allows you to manually adjust and trim your video. Then, save a copy of the trimmed video so it is ready to assemble!
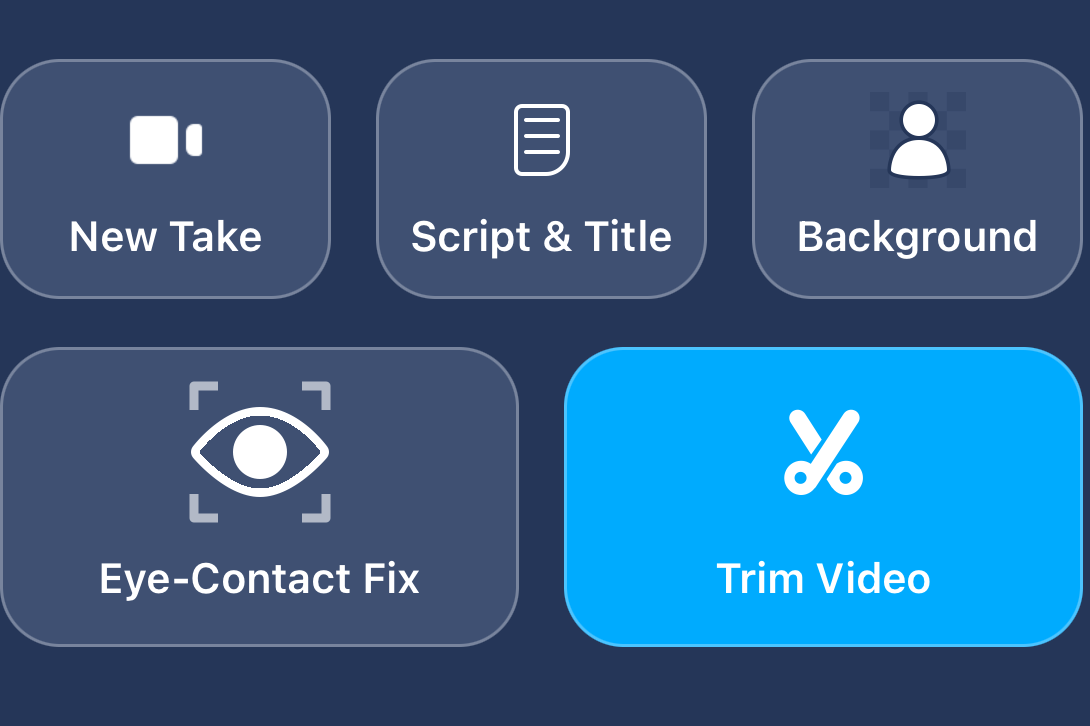
2. You can automatically add subtitles to your video by selecting your video, and choosing a subtitle style from the “Magic Style” section at the bottom. Then, select “Style with captions” to add your subtitles. Select your language and choose if you would like to add features such as auto-highlight, that can follow the word currently being spoken.
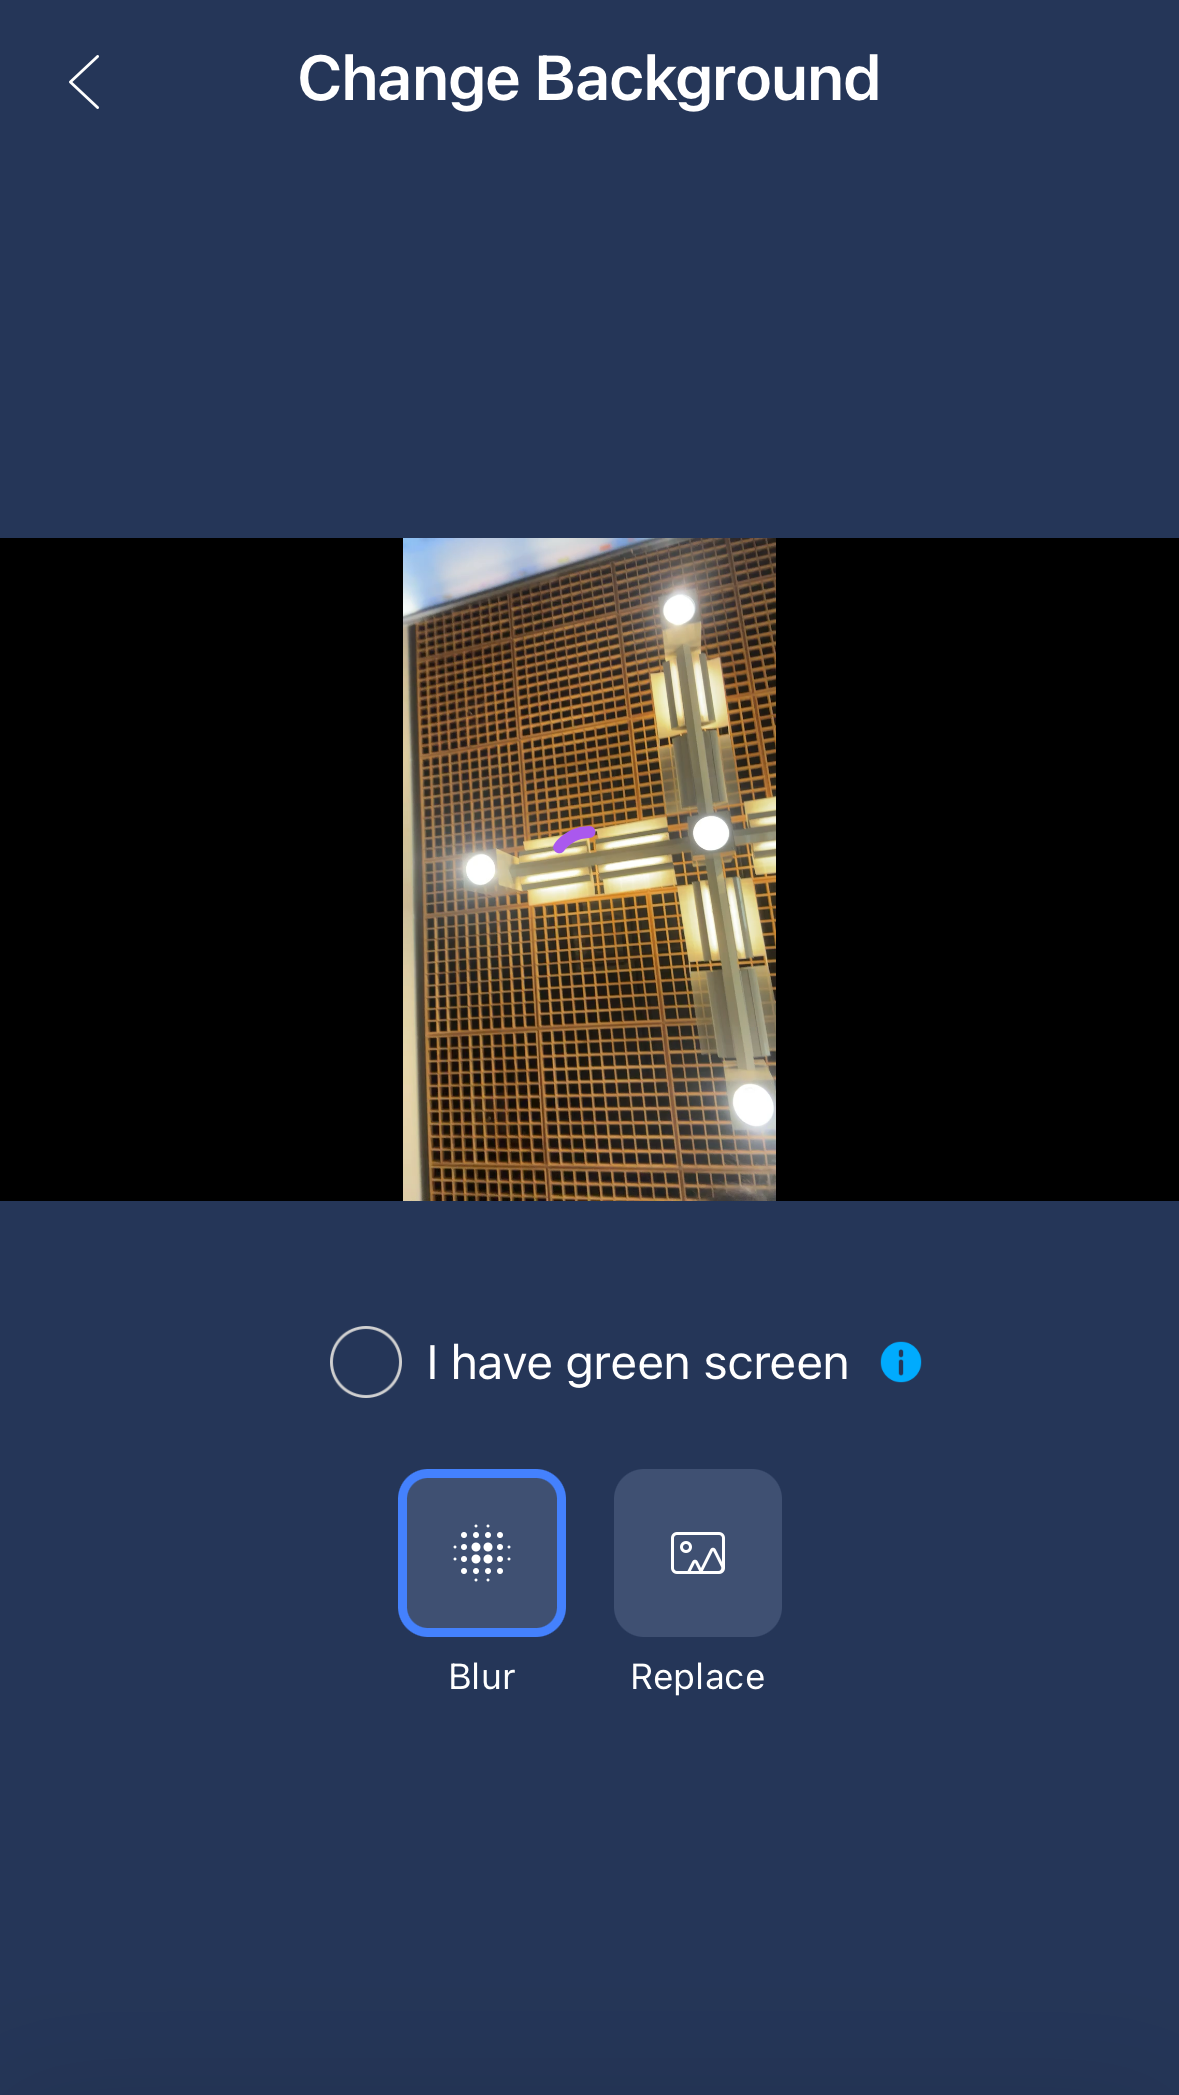
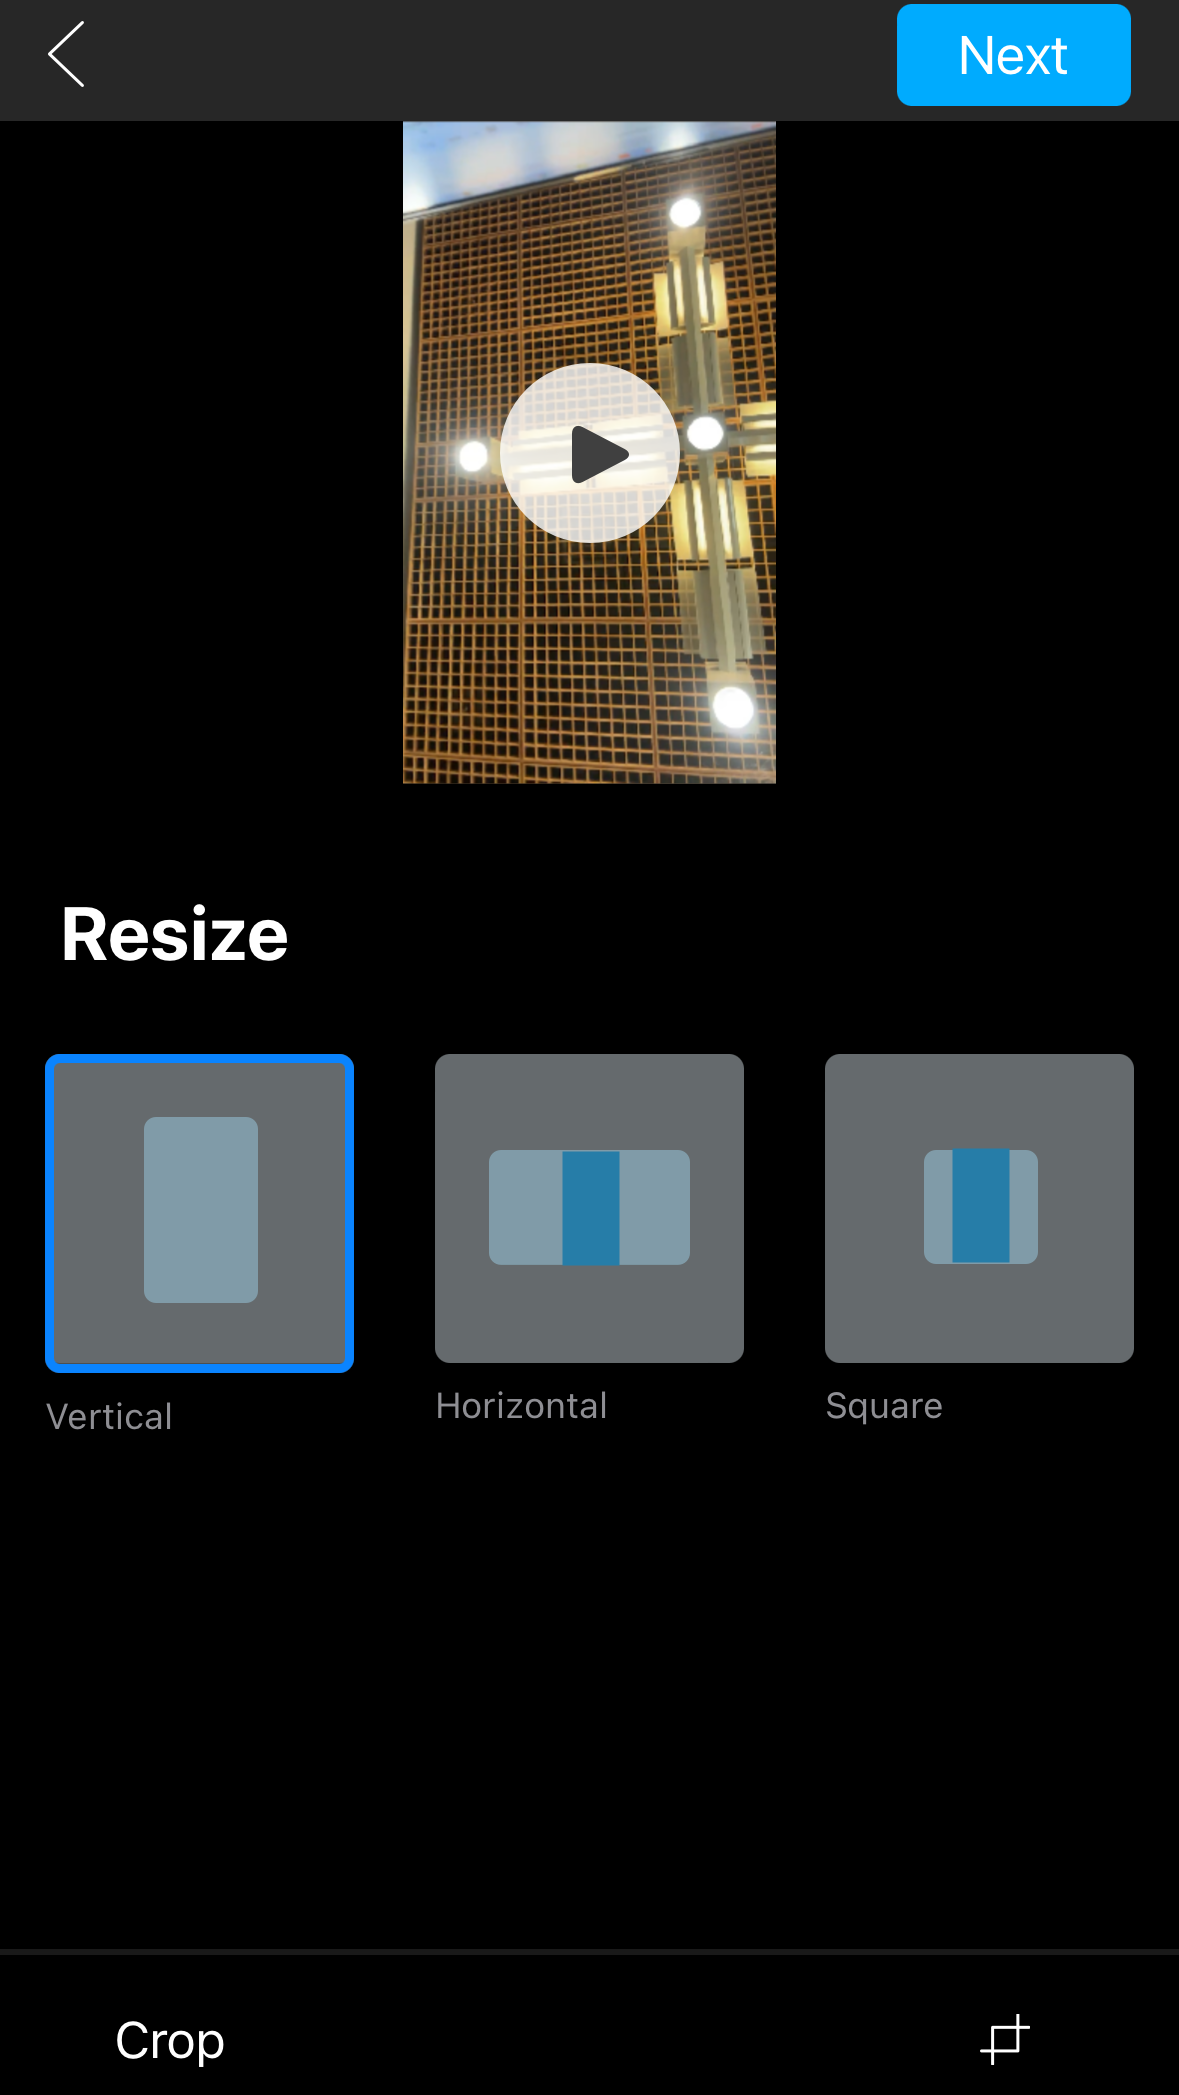
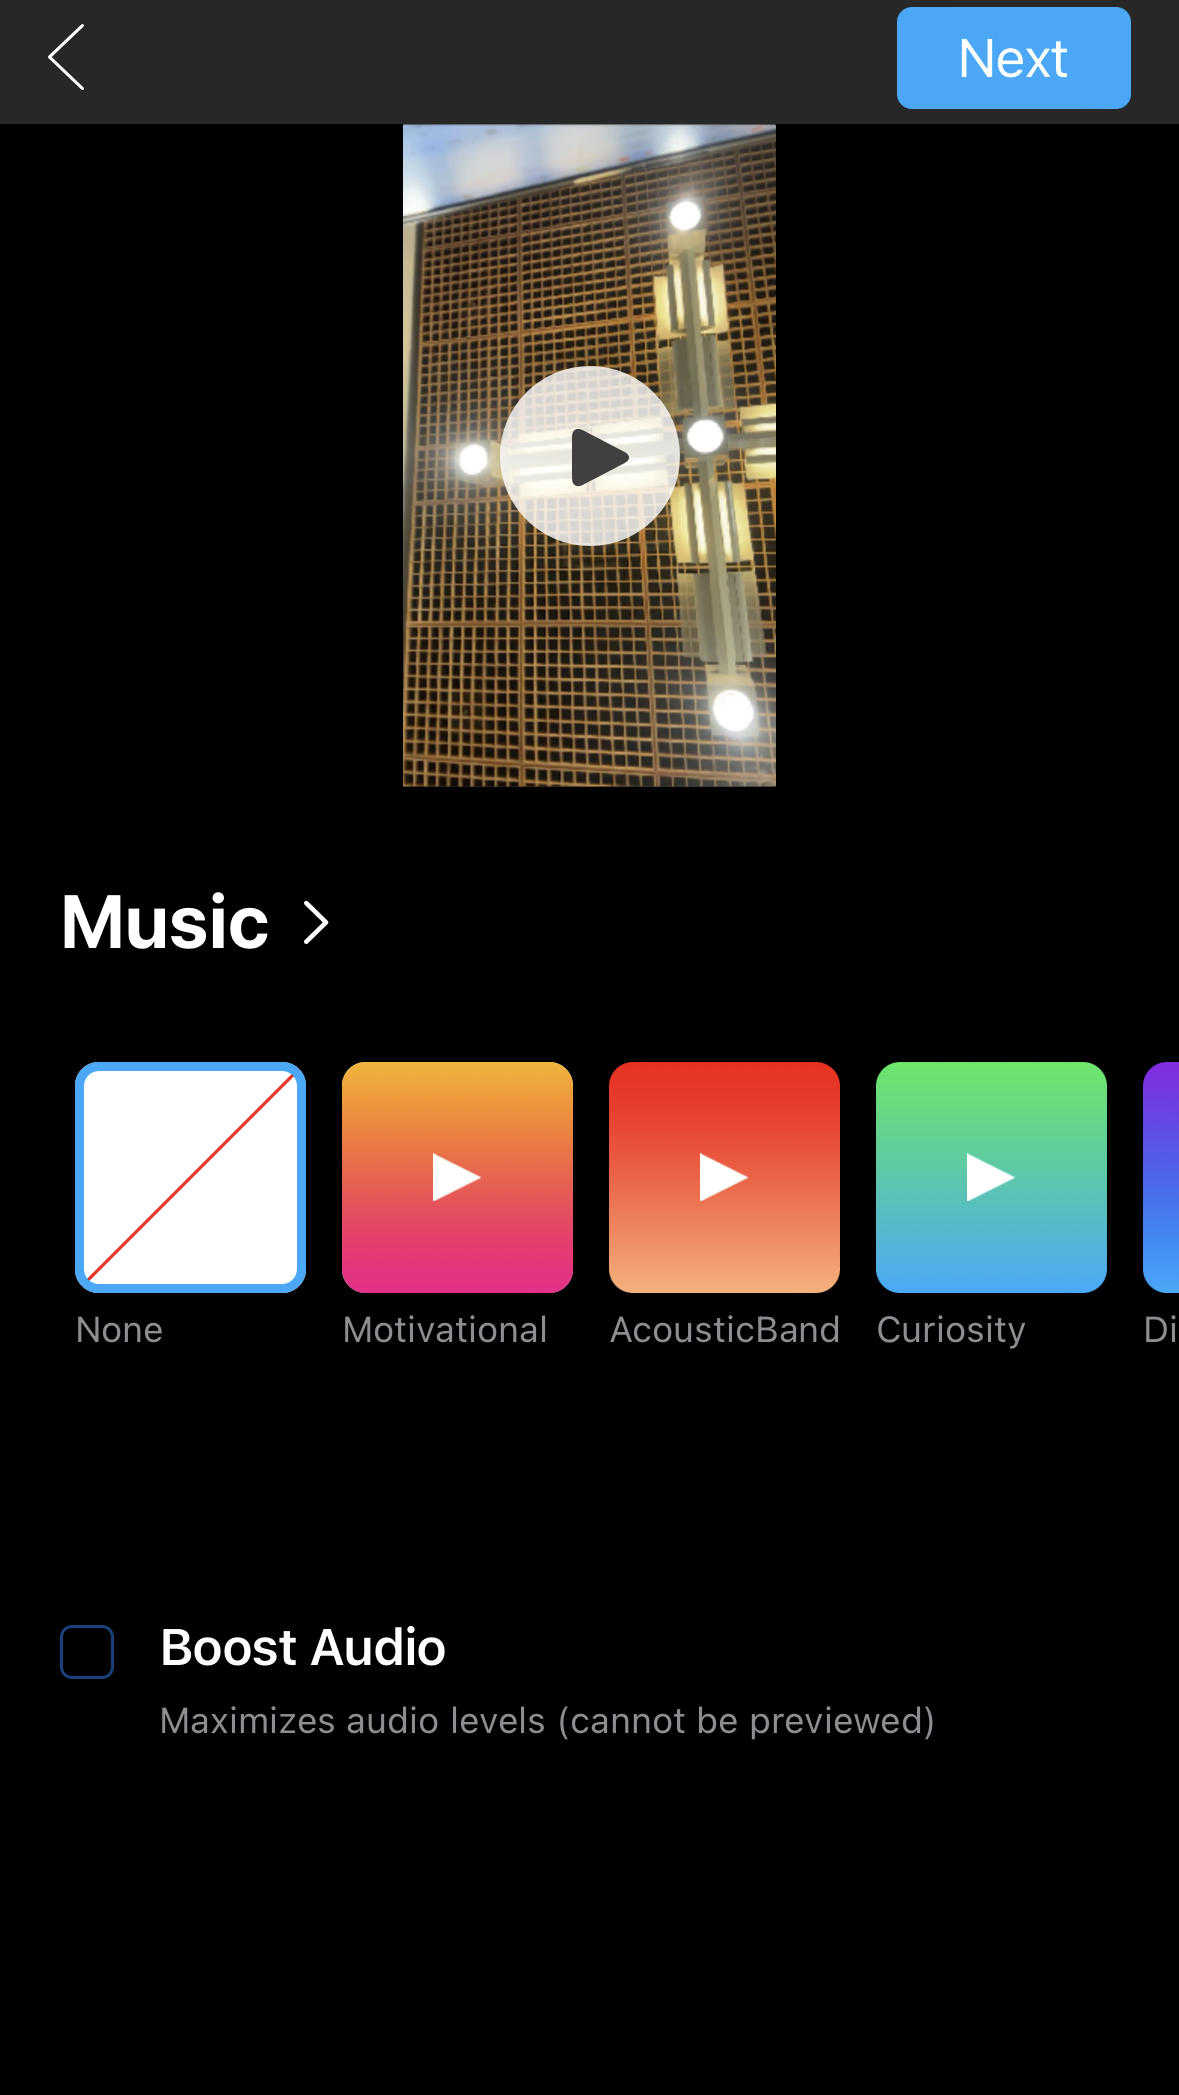
3. Other features you can add through editing include AI eye contact, replacing the background, adding music, and resizing the video.

4. To add branding to your video, select the “Style Without Captions” editing option. On the bottom right, select the card icon to add an intro or outro to your video. This could be a virtual business card or a video. This allows you to display information including contact information and social media links. You can also add a watermark with your brand logo. Select the paintbrush icon, and you can then upload an image of your logo. Finally, adjust the size and location of your logo.
BIGVU allows you to share videos directly to your social media, right from the app! Once your video is complete, click “Share” and “Post on Social Channels.”
You will then be given a list of your connected social media channels, so you can select the ones you would like to upload to. You can also select “Link more accounts” at the bottom, if you don’t have the right ones connected yet. Then, add a title and description to your video. You can also use BIGVU’s AI Magic Write to help generate a video description. At the top of the share screen, you can choose when to upload your video. It can be uploaded now or at a later date/time. Once this is done, hit share so others can view your finished video!
Join BIGVU today, and use our promo code MEHFIN63 to receive $20 off when you subscribe, or join here!